This will be a constantly updated post on my blog, reference the comments below to see updates that I make. This is a post that is in the works and it will showcase all my notes. I recently became interested in Woodworking and here is my research & discovery notes from Dropbox.
Tips, Tricks and Hints
- The very first thing you should do is read the manual. Or at the very least glance over the part with miter cuts and how to hold the saw
- The very first thing you should do after you drink coffee and glance the manual is do a couple imaginary pulls and pushes and visualized cutting wood a half a dozen times
- The very first wood creation should be a push stick. A very simple rectangle. Your second one should be a modified and upgraded pokey arm in the 6 to 8” range.
- Look for an old saw and try to attach the handle to your stick
- Try to optimize your flow and create a good a good habit. Make (at least) 20 cuts a day for the next two weeks to familiarize yourself and build confidence and good posture
Sanding
- 220 grit or higher after 2nd coat
- 120 is great for softwood like Pine
- Light pencil mark and when it’s gone you are good.
- I like to start, in this order, with a rough sand, like 80g or 120g than upscale to 220g and use coffee to pre-stain condition the wood.
- Use 400g in-between coats of polyurethane (or a rough abrasive 3M scratch pad)
Sawdust
- Save it and add to your soil, but not a bunch
- Use a saw bag to collect it or a shop vac and consider making small jars to mix with glue
Stain (and Pre-Stain)
- Sand the wood: Use fine-grit sandpaper to open up pores for better stain absorption.
- Use Mineral Spirits: Wipe wood with mineral spirits to clean and remove contaminants, improving absorption.
- Apply Diluted Wood Glue: Mix wood glue with water (1:1) to control absorption and reduce blotchiness.
- Use Tea or Coffee: Apply strong tea or coffee to add color and improve stain absorption, especially for softwoods.
- Vinegar and Steel Wool Solution: Soak steel wool in vinegar, apply to wood for added color and improved absorption, for a weathered look.
Oils
Mainly scraped from YouTube comments from people who are 70 years old, 35 years in hardwood floor finisher, person who spent countless hours in summer with grandpa, former aircraft painter, etc..
- Condition > Sand > Fill > Stain > Seal Clear
- Damp rag does a great job if you wanna precondition with that instead
- 50/50 mix of Linseed Oil and Turpentine
- As for color, a dark stain such as espresso or walnut can help further conceal imperfections while adding depth and richness to the wood.
- Danish oil is beautiful but wears out fast in high-traffic spots. Water droplets can turn white and require touching up with oil after buffing.
- Dura Seal oil poly for the last 12 years and never had the drying issues again
- I am a 68 year old American man. Retired. I painted 300 houses. If you need to seal anything that will be outside, consider Unboiled Linseed Oil. It dries very slowly, so penetrates deeply.
- I finished an unfinished pine dresser with Minwax Polyshades. Despite enduring multiple cross-country moves, it looks as good as it did 19 years ago.
- In the UK, instead of hard-to-find prestain, we use teabags for pine and high-tannin softwoods. Soak two teabags in warm water until cool, then apply to wood and let dry. It brings out tannin, prevents blotching, and raises the grain for sanding.
- To remove clamp pressure marks, dampen a rag and use a hot iron to steam the wood fibers back to the surface. Follow with sanding as usual. This method also works for dents, especially in softwoods.
- For a smooth lacquer finish, let the final coat cure for a couple of hours. Then, lightly buff it with crumpled craft paper or a brown paper sack. This smooths out any tiny nibs caused by dust or pollen, enhancing the satin finish.
- https://www.youtube.com/watch?v=8r7xmuSx6Pg
- https://www.youtube.com/watch?v=SWLm-3_iogw
- https://m.youtube.com/watch?v=rwXp1ckA0xg&pp=ygUSV29vZCBzdGFpbiBtaXh0dXJl
Tools
In order of importance, I believe it’s important to start with the basics and work your way up. Avoid using plastic as much as possible and try to buy tools that you’ll take care of for the rest of your life.
- Handsaw
- Ear & Eye Protection — $4
- Bench brush $1.5
- Air Nail/Stapler — $20
- Brad nails variety pack — $10
- Radial Arm Saw — $75 to $150
- Push stick FREE
- Pencil Sharpener
Circular saw blade$27- Circular saw blade #2 $35
Nitrile gloves$5Red laser saw blade guide$30(2) Magnetic Strip$3Mechanical Pencil$1.25- Wood Supplier
- Local Search Query > HD / Lowes
- Random Digital Plans
- Chaise Lounge $5
- Tiki Planter Box
- Outdoor Bench $3
- 24 Screws
Apron / Smock- Orbital Sander
- Premium, Washable Disc Sandpaper $20
- Sanding Block FREE
Thread Lock Sealers$10- Bob Ross Paint /
Stain Brush - Dust Extraction /
Saw Bag$6.50 - Drill Chuck + Key $22 or v2
- 45° Angle Clamp Jig — FREE
- Speed Square (w/level) > Steel framing square $10
Pocket Hole Jig Kit$8Pocket Hole Jig Plugs$5Mechanical PencilFREE- Wood Glue Pipe Clamps
- Metal Trashcan (fire proof)
- Screw /Pipe Clamp > parallel clamp
HVLP Gravity Feed Air Spray— $9- Painter tape assorted colors
- Auto vacuum switch $37
- (1) Gallon Wood Glue $22
- Knot Hole Glue / Finisher / Activator
- Microfiber Dust Removal for Sanding
- Drill Magnetizer
- Magnets / Neodymium / Telescopic
- Stencil stamp date and signature
- Wood engraver to stamp signature and date
- Wood Glue Roller Applicator
Wood glue bottle- Wood shavings jars for different wood filler DIY glue
- Clear poly
- T rail into fence
- DIY T track-bolt push stop block
- DIY pole clamps with pool tubes
- Center align drill bit
- Center Square $28
- Feather guard
Wood glue silicone brush- Roller guard clamp
- Spindle of rope
- Nail pusher air gun
- radial arm saw riving knife
- Right angle driver bit attachment
- Drill attachment screw holder
- Wood moisture digital tool
- Mohawk Epoxy Putty $20
- Retractable Cord Reel $80
- Japanese Saw $22
- Montana multi bit attachment $22
- Bronze / Brass bristle brush for cleaning > Steel Wool
- Engineer square set
- Analog Dial Caliper > digital
- Card Scraper
- Marking knife
- Drill press
- Digital angle finder
- Down Making Jig $15+
- LED Strip for under the saw
- retractable pencil holder pull
- Metal Soup Ladle to mix everything neatly
- Pyramid points to hold stained wood
- 10” Metal Sanding Disc that uses ⅝” arbor
Favorite Plans:
Favorite Builds
I've done some other stuff, and I really enjoyed working on:
- Flower Box
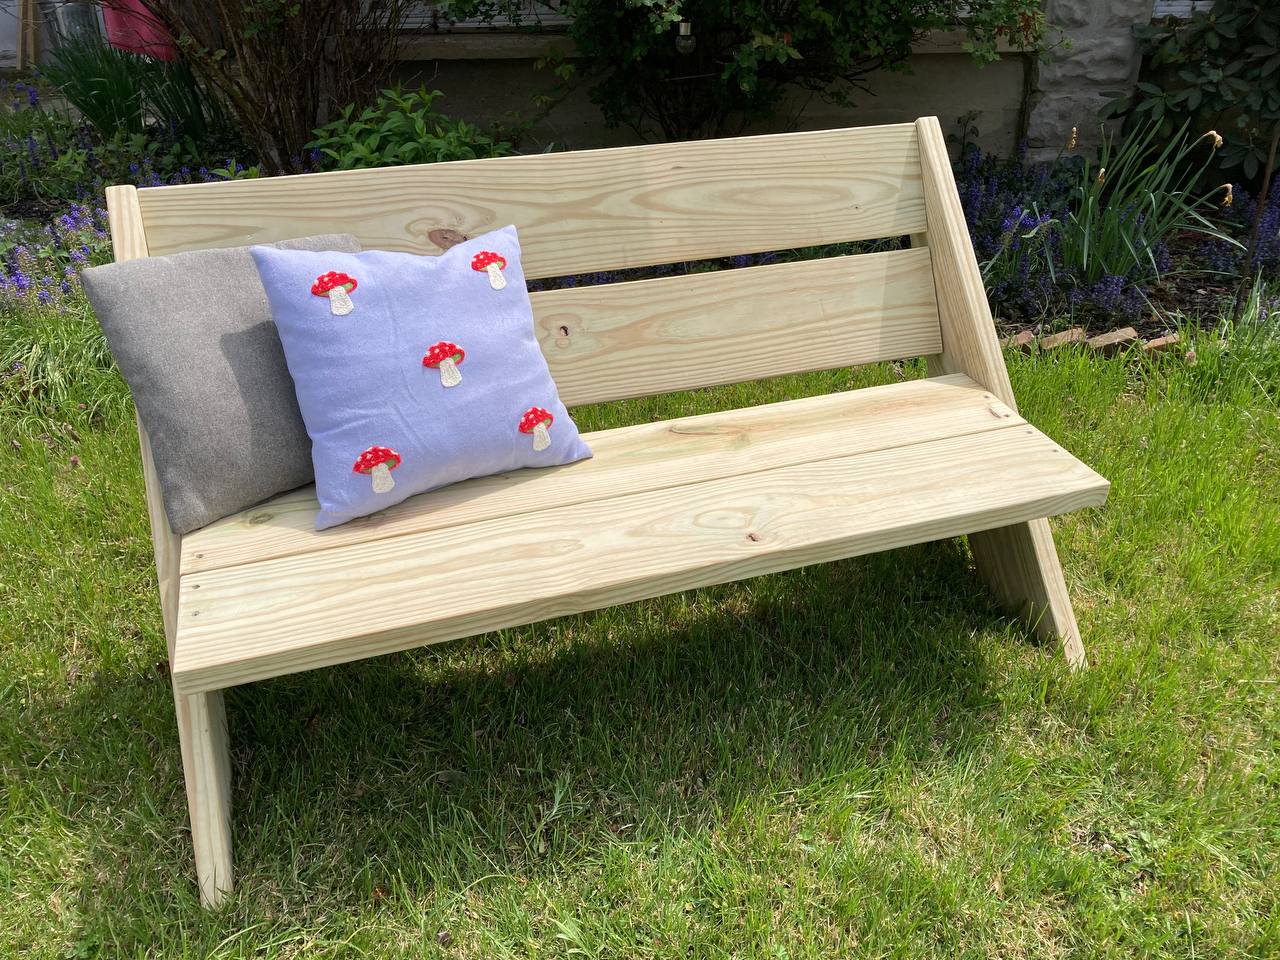
- Outdoor Bench
- Tiki Planter Box
- Mountain Shelf
- More to come!
People / Influence
- Sam Maloof
- Perfected things
- Wharton Esherick
- Made alot of stools
- Nick from Workshop Companion, Wood By Wright, Cosman, Sellers, Wright, and Hamilton (Stumpy Nubs), Paul Sellers for old-school skills, and Rob Cosman for people with very deep pockets.
Created initial post and attached some PDF plans that I can print out at my local library
Added some extra notes but still needs some organization…